Discover plumbing upgrades that can boost your home's value. Learn which improvements improve efficiency, appeal to buyers, and offer the best return.

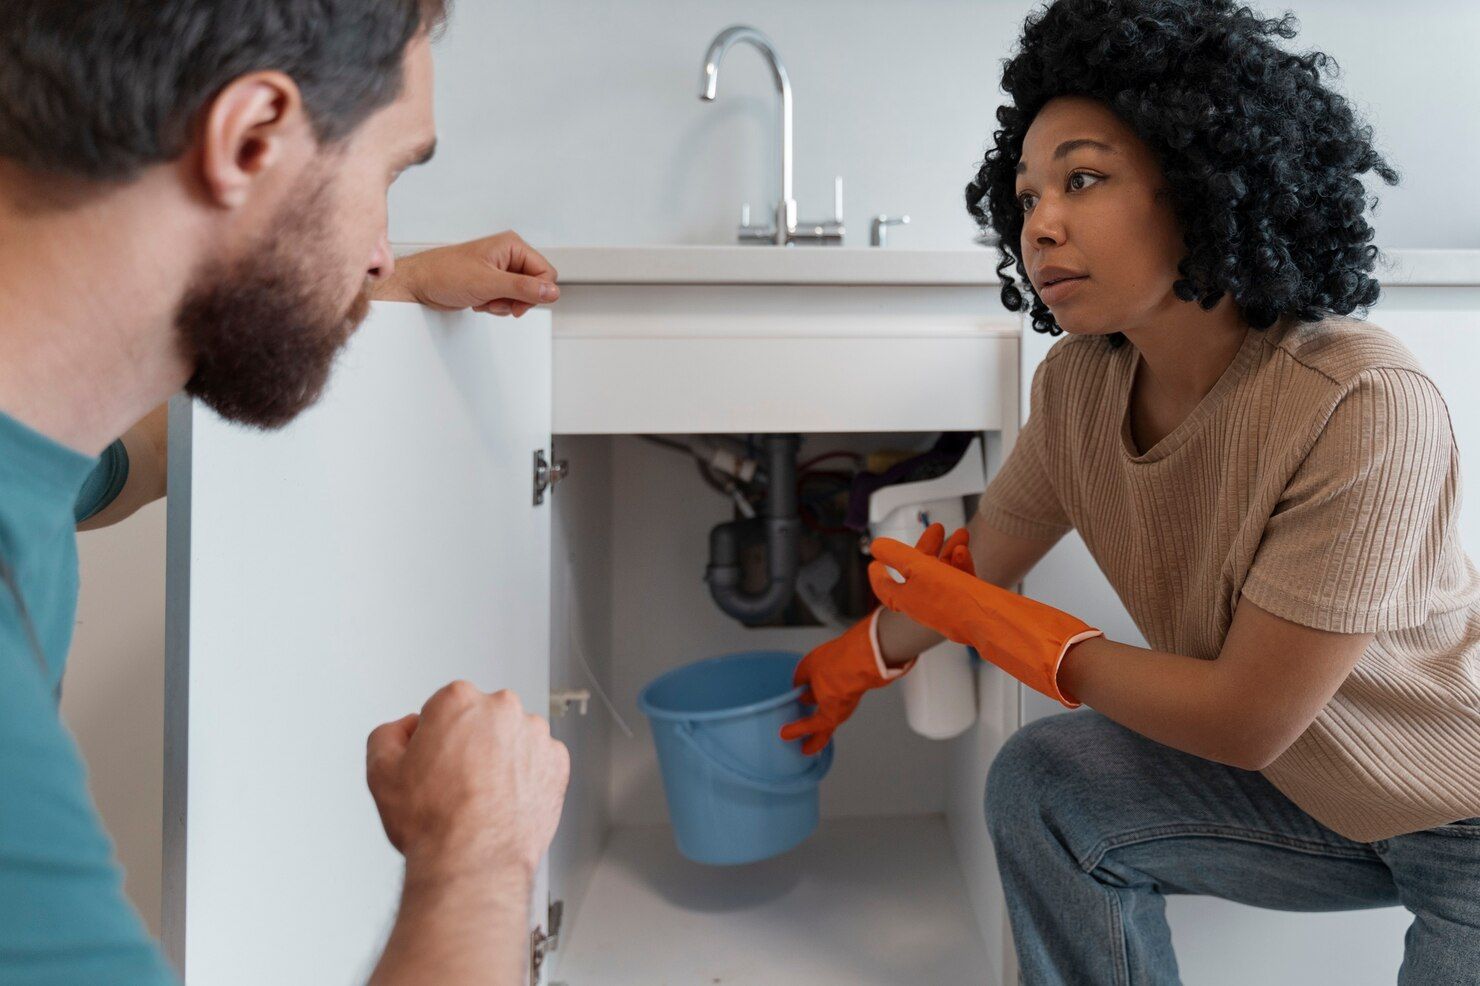
G’day mates! Let’s have a chat about something we all take for granted until it goes wrong – the humble bathroom. It’s where we start and end our days, but when the plumbing plays up, it can turn your household routine into a proper nightmare. I learned this the hard way when my toilet decided to turn into a fountain at 2 AM on a public holiday. There’s nothing quite like that special panic when you’re standing in ankle-deep water, desperately searching for a shut-off valve you’ve never needed before. Since that memorable night, I’ve developed a healthy respect for bathroom plumbing and what can go wrong.

Discover why hiring a local plumber in Mount Nathan is the smart choice. Get fast, reliable service that saves you time, money, and plumbing headaches.

Discover the top 5 reasons to call an emergency plumber in Nerang. Prevent costly water damage, protect your home, and get fast, reliable plumbing help when you need it most.
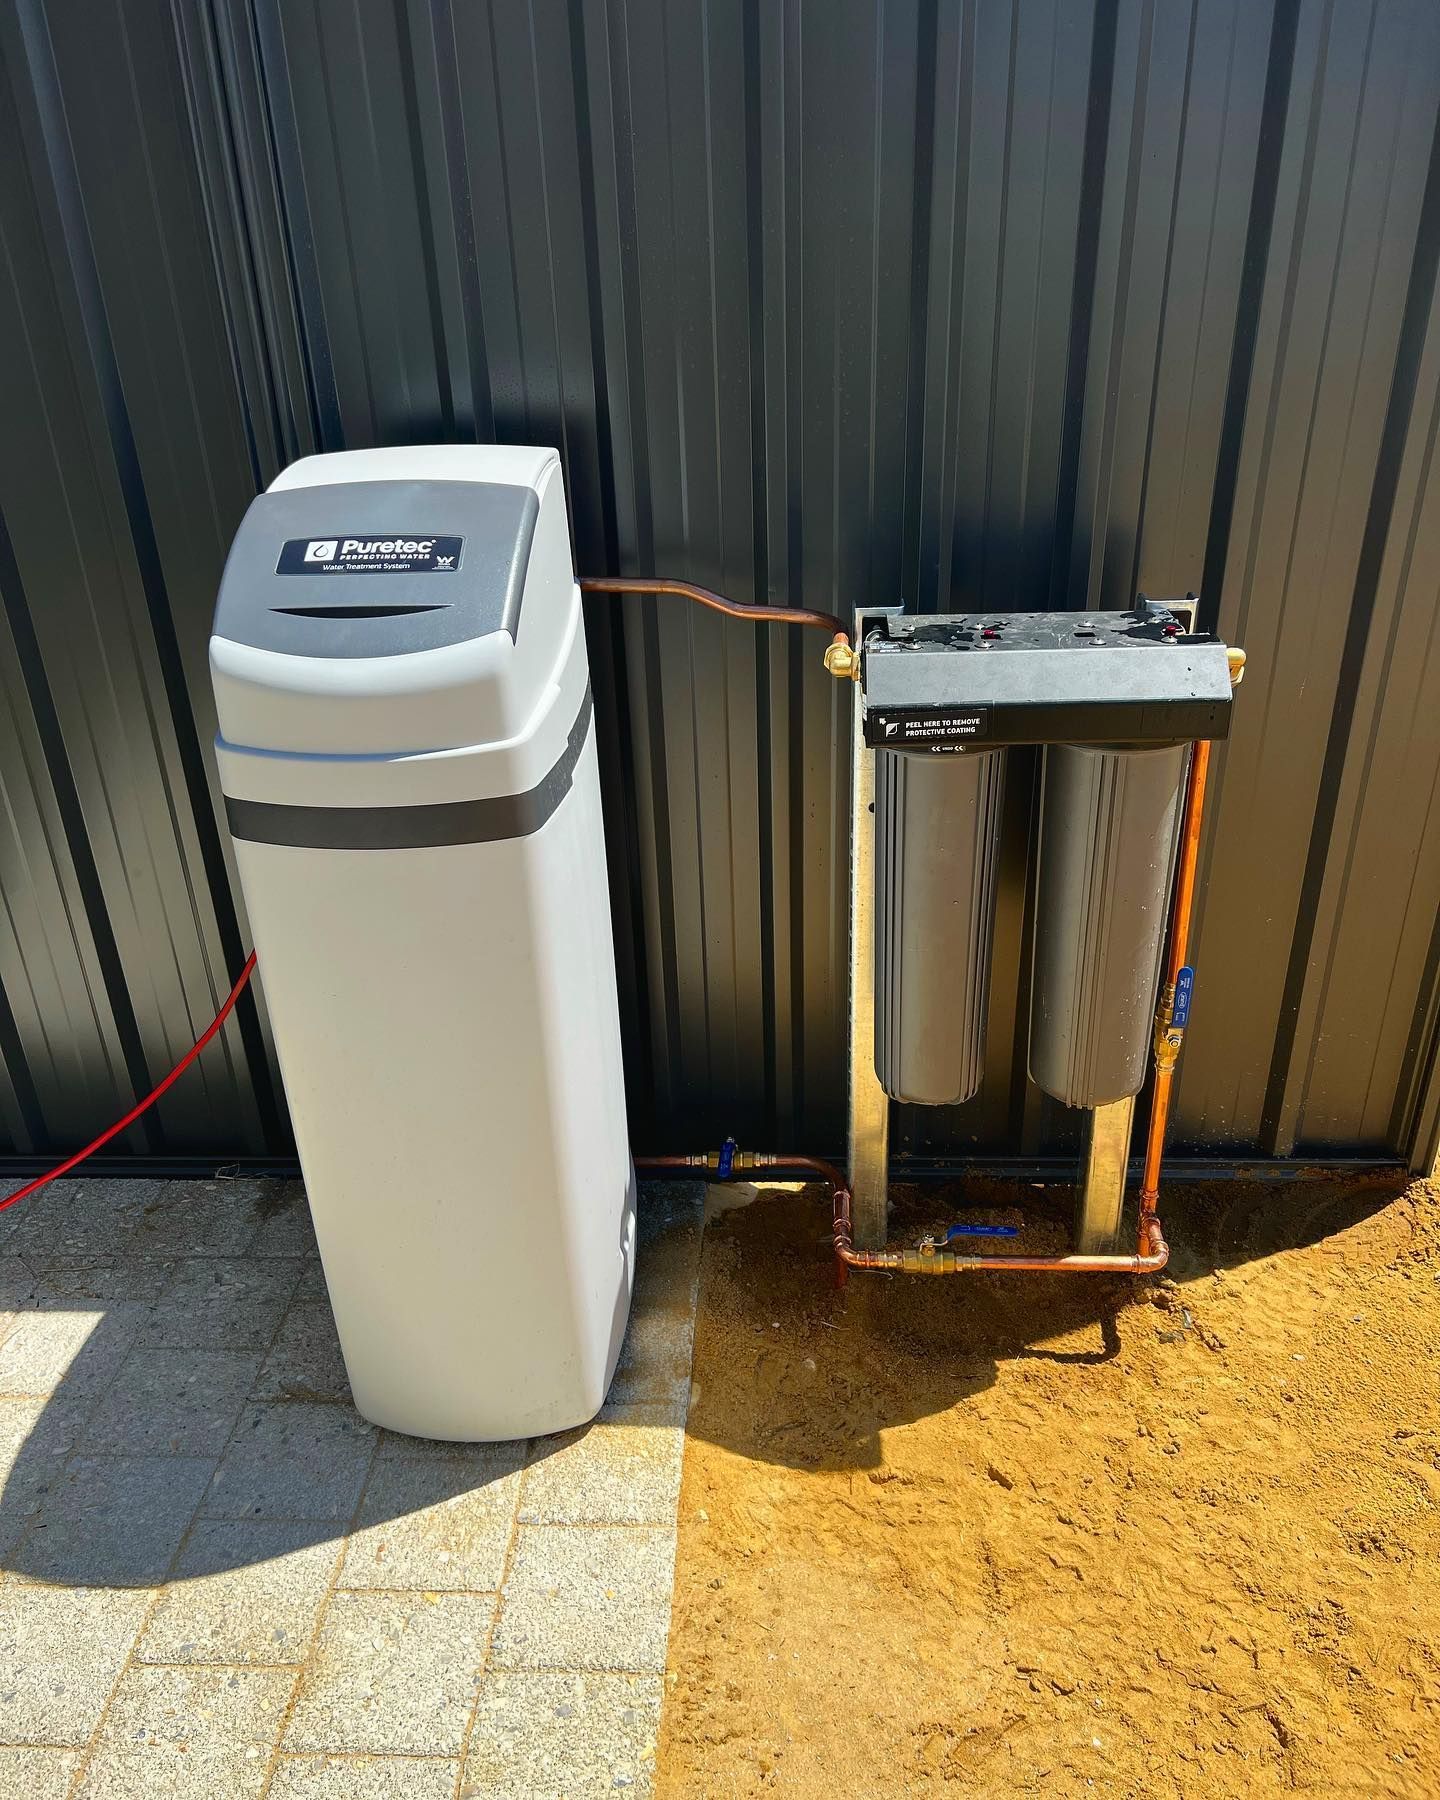
Explore the different types of water filtration systems and discover which one suits your Gold Coast home best. Ensure clean, safe, and great-tasting water every day.

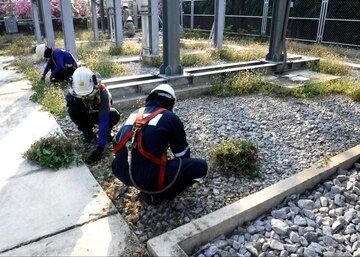
Discover why hiring a roof plumber on the Gold Coast is essential for leak prevention. Protect your home with expert repairs, maintenance, and long-lasting solutions.

Planning a hot water upgrade on the Gold Coast? Discover the best system types, energy-saving tips, and expert advice to help you choose the right setup for your home. Clear, simple, and homeowner-friendly.
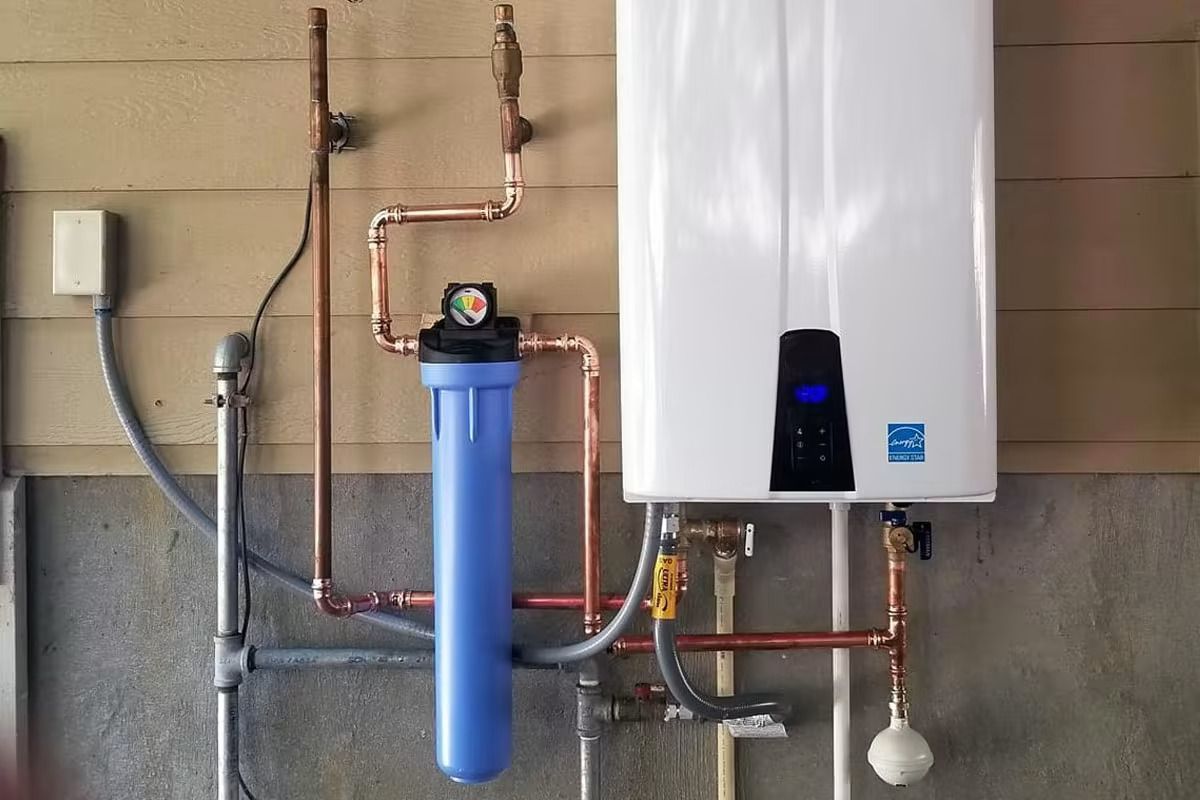
Discover why every Gold Coast home needs a water filtration system. Enjoy cleaner water, better taste, and improved health for your family.
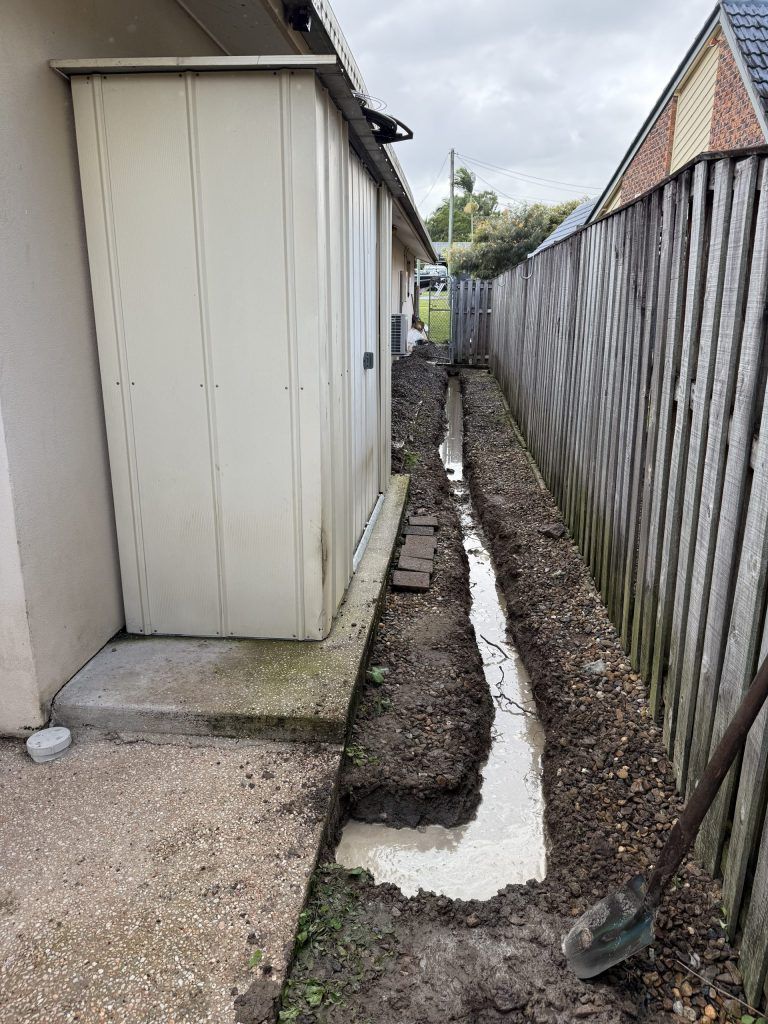
From heavy rain to heatwaves—learn how Gold Coast’s unique weather conditions can impact your plumbing and drainage systems, and how to protect your home.


